Cosmic ZAP
Cosmic ZAP Debugger is a full featured source-level debugger. It can be used stand-alone or together with Cosmic's Cross Development Tools used to create the project for ZAP. Currently, only Cortex-M devices are supported by ZAP in combination with J-Link.
Using J-Link Built-In Flash Loaders
ZAP for J-Link is configured to be used with a J-Link out-of-the-box and automatically uses the J-Link built-in flash loaders. J-Link built-in flash loaders are highly optimized for flash programming.
Using Cosmic ZAP J-Link Support with a Cosmic IDE Project
Cosmic automatically uses the latest J-LinkARM.dll installed. To use ZAP J-Link the J-Link Software and Documentation package needs to be installed. It is recommended to always use the latest version of the software, which will automatically be used by ZAP. To open a project and start ZAP J-Link follow the instructions below:
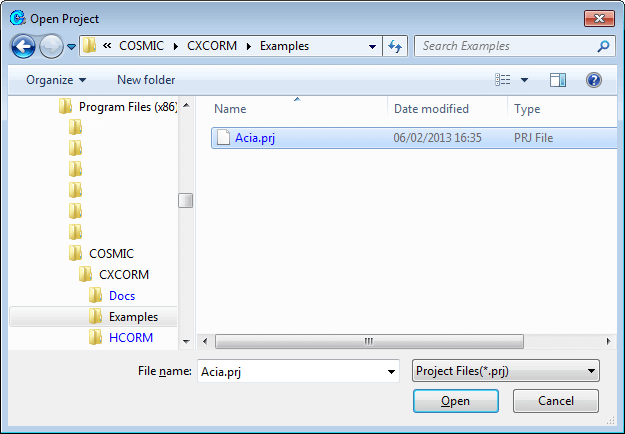
- Select Project | Load...
- Select a sample project file (here: Acia.prj)
- Click Open
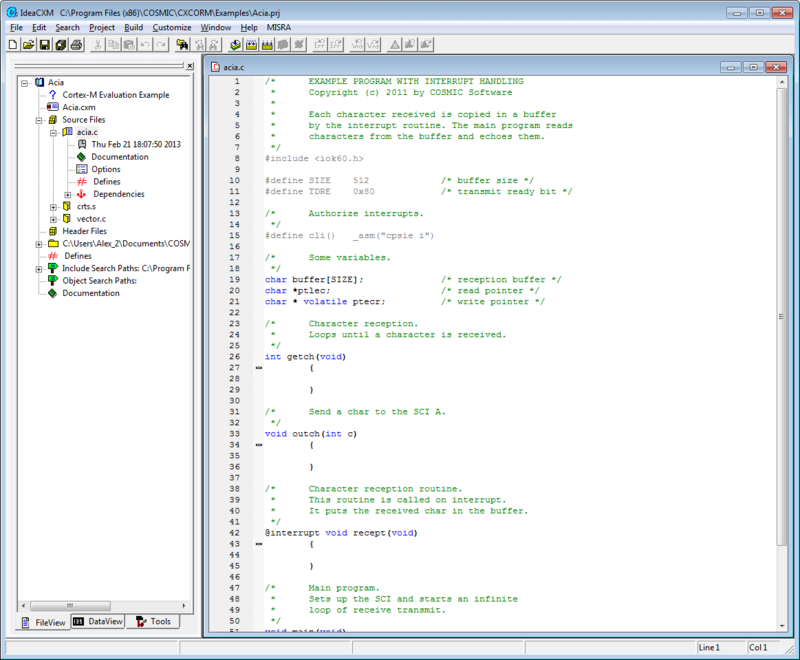
- Now Cosmic should look like the following:
Now we need to connect Cosmic IDE with Cosmic Debugger.
- Select Build | Setup Tools | Debugger | Application
- Select ZAPJLink.exe
- Press Open
- Your Main Window should have changed the ZAP icon now
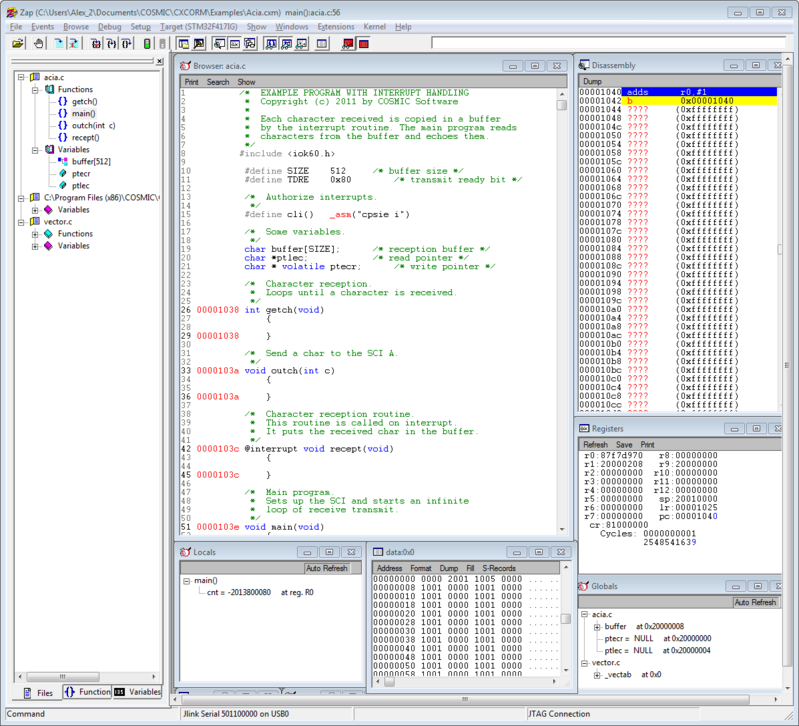
To start the Debugging Application, click the red 'Zap' Icon.
Configurating ZAP Debugger to work with J-Link and the target device
ZAP J-Link is built to automatically find and connect to a J-Link. To start ZAP it is necessary to have one J-Link connected to the PC as well as to the target device. The target connection can be set as follows:
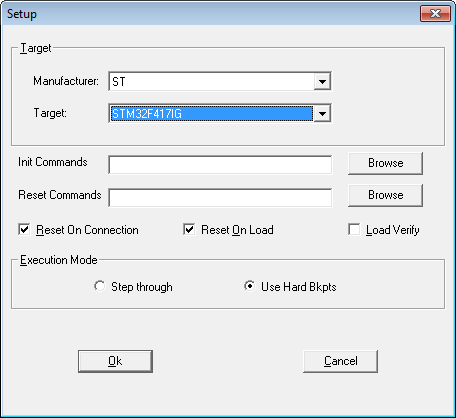
- Select Target | Connect
- Choose the target settings for your device and click Ok
- Now you can start debugging using J-Link.


