GigaDevice GD32C113C-START
Revision as of 16:44, 30 August 2022 by SebastianB (talk | contribs) (Created page with "__TOC__ This article describes specifics for the GigaDevice GD32C113C-START evaluation board. 450px == Minimum requirements == * J-Link...")
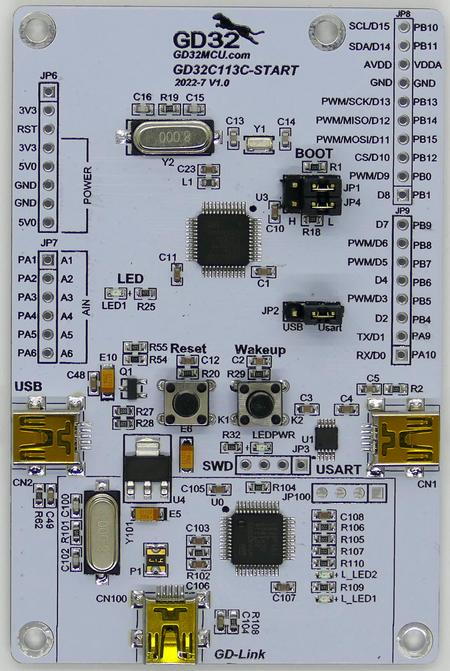
This article describes specifics for the GigaDevice GD32C113C-START evaluation board.
Minimum requirements
- J-Link software V7.71a or later
Preparing for J-Link
The GD32E113R-START does not come with a standard debug connector. Therefore, these signals have to be wired manually to connect the J-Link to the evaluation board. The following guide will describe how the GD32C113C-START evaluation board can be connected to your J-Link.
- Populate the the pin header JP3
- Connect the board with jumping wires to your J-Link (see table below)
For information about the J-Link pinout please refer to the following page: J-Link SWD pinout.
| J-Link 20 pin debug interface | Pin on evaluation board |
|---|---|
| Pin 1 (VTref) | Pin 1 (Squared hole) |
| Pin 4 (GND) | Pin 2 |
| Pin 7 (SWDIO) | Pin 3 |
| Pin 9 (SWCLK) | Pin 4 |
- Power the board via the USB port (CN100).
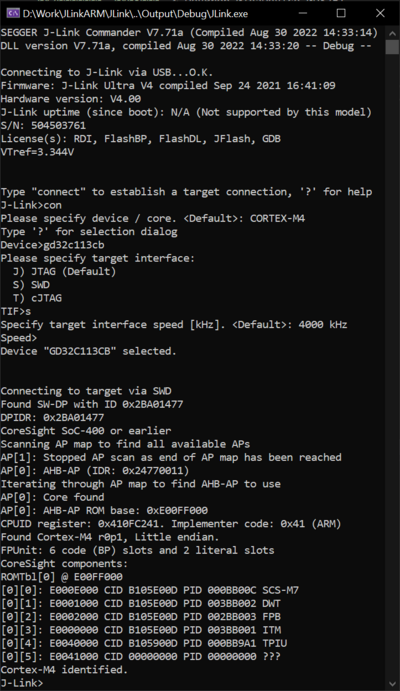
- Verify the Connection with e.g. J-Link Commander. The output should look as follows:
Example Project
The following example project was created with the SEGGER Embedded Studio project wizard and runs out-of-the-box on the GigaDevice GD32C113C-START. The application is linked into the internal flash.
SETUP
- J-Link software: V7.71a (or later)
- Embedded Studio: V6.32b (or later)
- Hardware: GigaDevice GD32C113C-START
- Link: File:GigaDevice GD32C113C TestProject ES V632b.zip

