Difference between revisions of "Creating an eMMC image using Storage Image Creator"
| Line 29: | Line 29: | ||
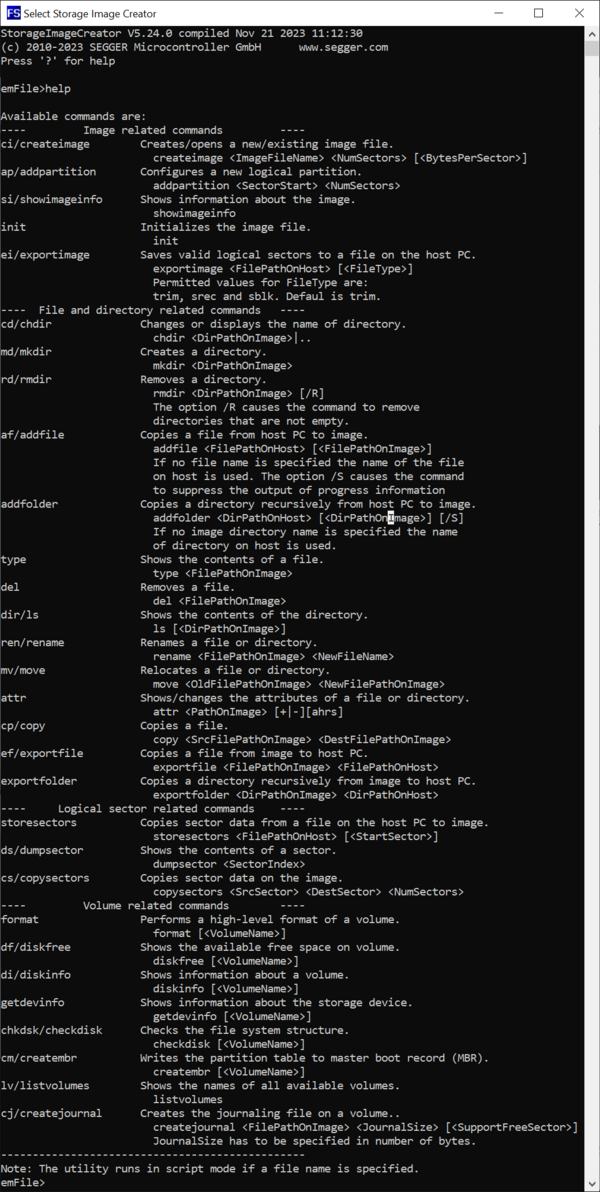
[[File:SIC_Help.png|thumb|center|upright=2.0|alt=Screenshot of the help information of the Storage Image Creator.|Brief command information]] |
[[File:SIC_Help.png|thumb|center|upright=2.0|alt=Screenshot of the help information of the Storage Image Creator.|Brief command information]] |
||
| − | The first command that has to be executed for the creation of the image is the <code>CreateImage</code> command. The purpose of this command is to configure the name of the file that stores the image on the host PC as well as information about the capacity of the storage device mounted on the target hardware. |
+ | The first command that has to be executed for the creation of the image is the <code>CreateImage</code> command. The purpose of this command is to configure the name of the file that stores the image on the host PC as well as information about the capacity of the storage device mounted on the target hardware. Generally, all commands will display an error message if the operation fails. Most of the commands will also display information during the execution indicating that the command completed successfully. If a command does not display any information during the execution than this is an indication that the command completed successfully. |
| + | |||
| + | The capacity of the storage device is specified via the second and the third command parameter. The second parameter specifies the total number of storage blocks available on the storage device while the third parameter specifies the size of one storage block in bytes. The third parameter is optional and can be omitted. The default value of this parameter is 512 that is the typical block size used by an eMMC device or by an SD card. |
||
| + | |||
| + | The value of the second parameter can be taken either from the data sheet of the eMMC device or by calling the [https://www.segger.com/doc/UM02001_emFile.html#FS_STORAGE_GetDeviceInfo FS_STORAGE_GetDeviceInfo] emFile API function in an application on the target hardware. The <code>NumSectors</code> member of the [https://www.segger.com/doc/UM02001_emFile.html#FS_DEV_INFO FS_DEV_INFO] structure returned via the second parameter stores the value that has to be entered as second parameter of the <code>CreateImage</code> command. |
||
In our case we create an image for an eMMC device of about 8 GB that works with blocks of 512 bytes (15269888 × 512 = 7.818.182.656 bytes about 8 GB). The image is stored to a file with the name <code>eMMC.img</code>. The size of the block is omitted because it equals with the default value used by the Storage Image Creator utility. |
In our case we create an image for an eMMC device of about 8 GB that works with blocks of 512 bytes (15269888 × 512 = 7.818.182.656 bytes about 8 GB). The image is stored to a file with the name <code>eMMC.img</code>. The size of the block is omitted because it equals with the default value used by the Storage Image Creator utility. |
||
Revision as of 16:05, 24 November 2023
The Storage Image Creator is a command line utility that can be used to build a single file containing a complete FAT file system including directory structure and files ready to be stored and used without preparation apart from mounting the file system.
The utility operates by executing text commands that perform different operations related to the data stored on the image file such as formatting the storage and copying of files from the file system of the host PC to the file system stored in the image file. The utility can execute the commands either interactively by typing them in the same way as in a command line (interactive mode) or by reading them from a text file (batch mode). A description of all the supported commands can be found in the emFile user manual.
The interactive mode is entered if the utility is started without arguments. The utility enters batch mode if it is started with the file containing the commands to be executed as argument.
The following example shows how to create a FAT file system image for an eMMC device with the capacity of about 8 GB that contains two files an one directory. The example uses the interactive mode for the creation of the file system image. However, the same file system image can be created by saving the commands in a separate text file and by executing them in the batch mode.
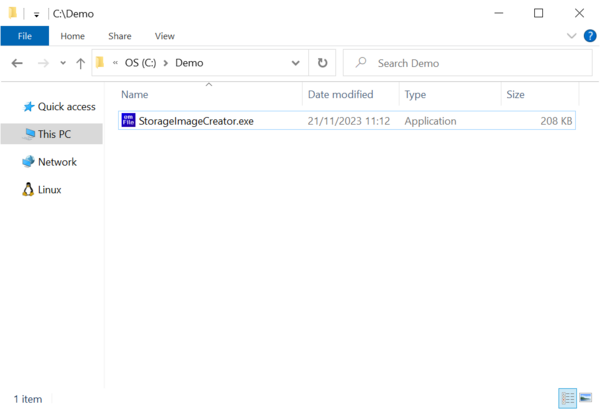
We start by creating a folder on the host PC that will serve as work area. For convenience, we make a copy of the Storage Image Creator utility to this folder. This is possible because the Storage Image Creator is a standalone application that does not require any installation and that depends only on the standard system libraries.
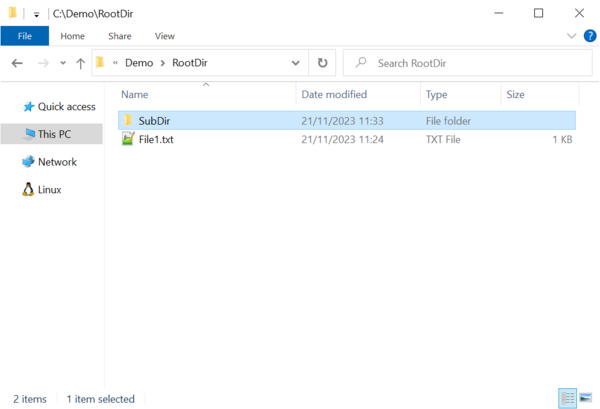
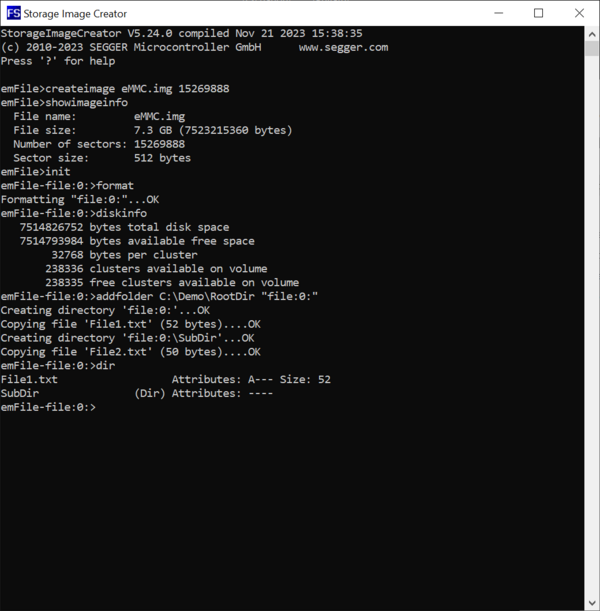
Next, we create the file and directory structure that has to be present on the eMMC device mounted on the target hardware. For this purpose we create a folder called RootDir that contains all the files and directories that will be present in the root directory of the FAT file system stored on the eMMC device. The root directory contains a folder named SubDir and a file named File1.txt. The SubDir folder contains a file named File2.txt.
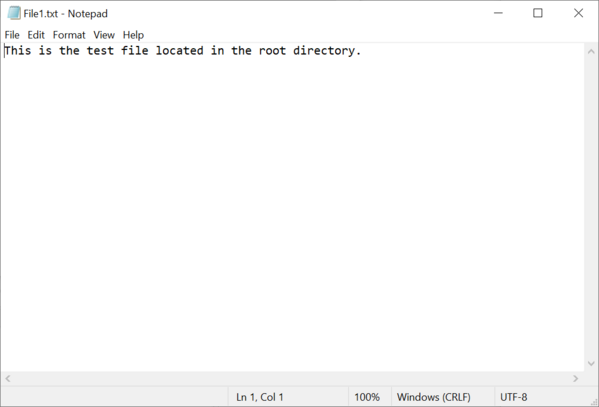
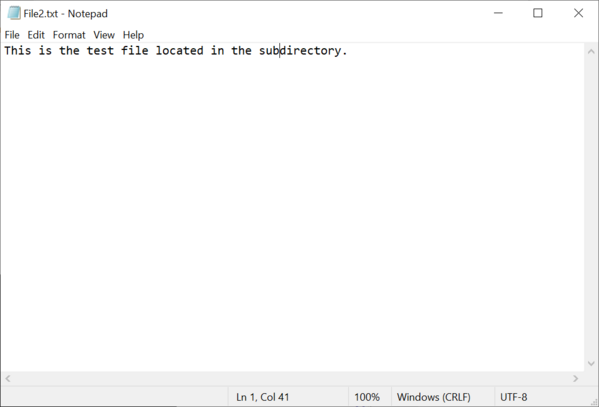
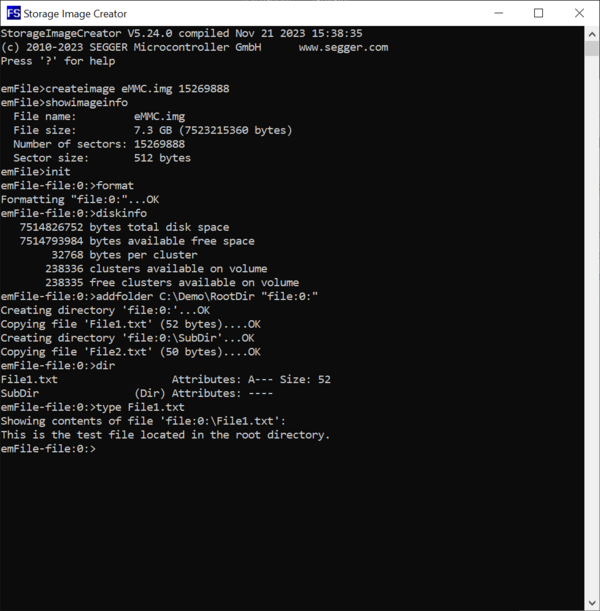
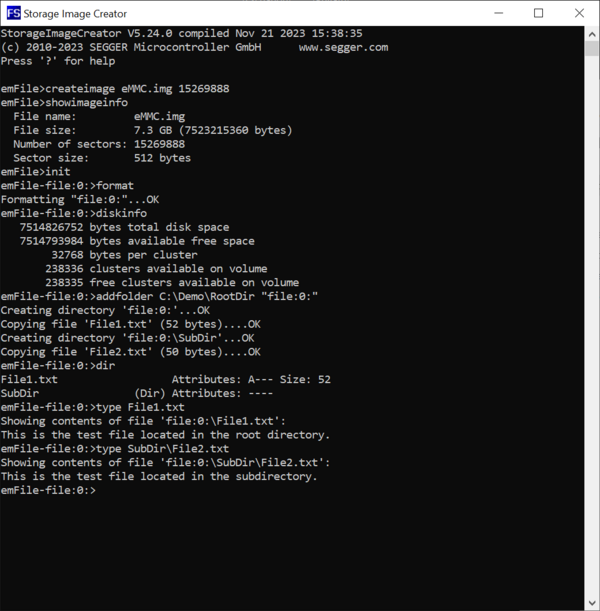
We store some text data in the created files so that we can check later if the files were correctly copied to the image.
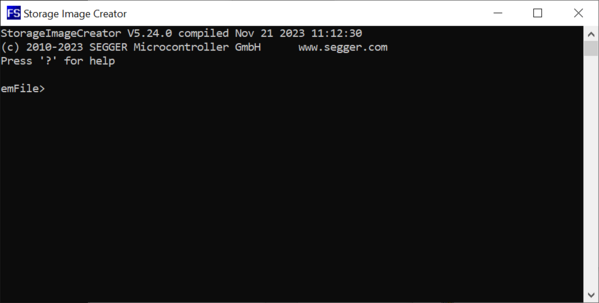
In the next step, we start the Storage Image Creator utility either by double-clicking on the name of the executable or by selecting the executable and pressing the Enter key. At startup, the utility displays some general information such as the emFile version and the build date followed by a prompt that accepts commands from the user. Similarly to a Windows command line prompt, the text of the command can be typed-in and edited. The command is executed only when the Enter key is pressed. The name of the commands is case insensitive. This means that Help and help are interpreted by the Storage Image Creator as the same command.
The list of supported commands and a short description of them can be displayed by executing either the Help command or by pressing the ? key.
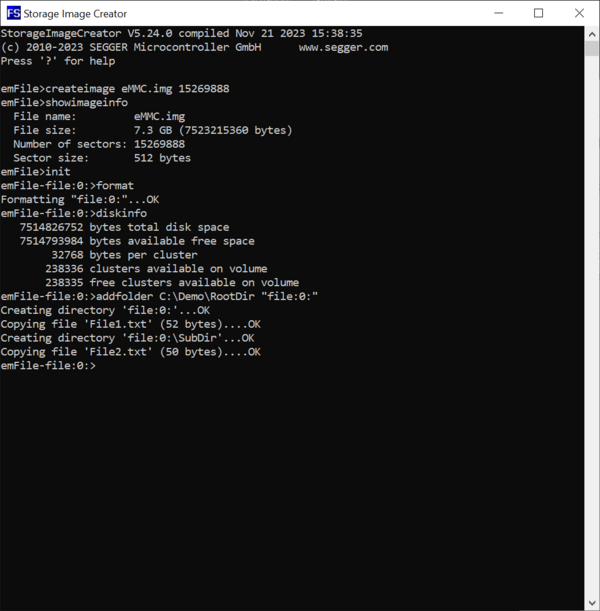
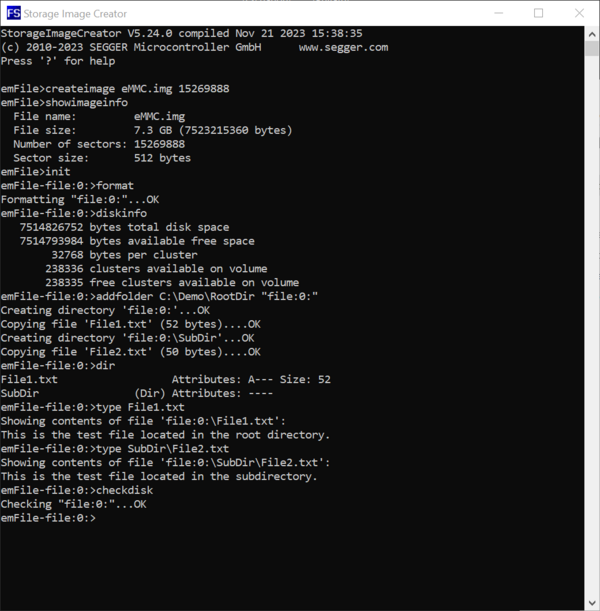
The first command that has to be executed for the creation of the image is the CreateImage command. The purpose of this command is to configure the name of the file that stores the image on the host PC as well as information about the capacity of the storage device mounted on the target hardware. Generally, all commands will display an error message if the operation fails. Most of the commands will also display information during the execution indicating that the command completed successfully. If a command does not display any information during the execution than this is an indication that the command completed successfully.
The capacity of the storage device is specified via the second and the third command parameter. The second parameter specifies the total number of storage blocks available on the storage device while the third parameter specifies the size of one storage block in bytes. The third parameter is optional and can be omitted. The default value of this parameter is 512 that is the typical block size used by an eMMC device or by an SD card.
The value of the second parameter can be taken either from the data sheet of the eMMC device or by calling the FS_STORAGE_GetDeviceInfo emFile API function in an application on the target hardware. The NumSectors member of the FS_DEV_INFO structure returned via the second parameter stores the value that has to be entered as second parameter of the CreateImage command.
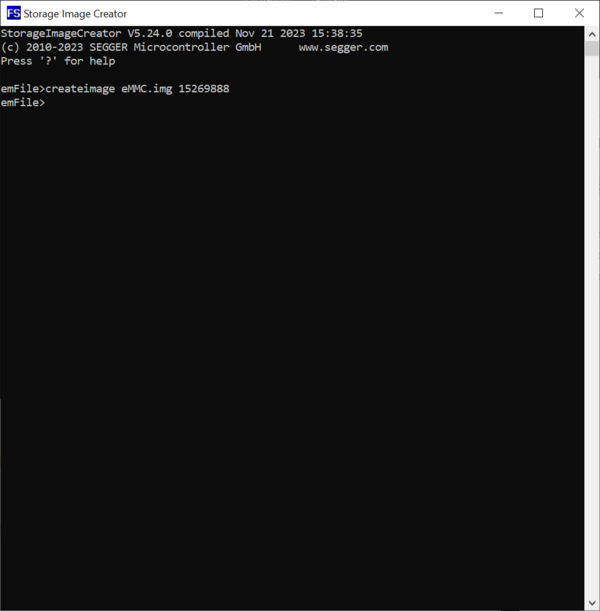
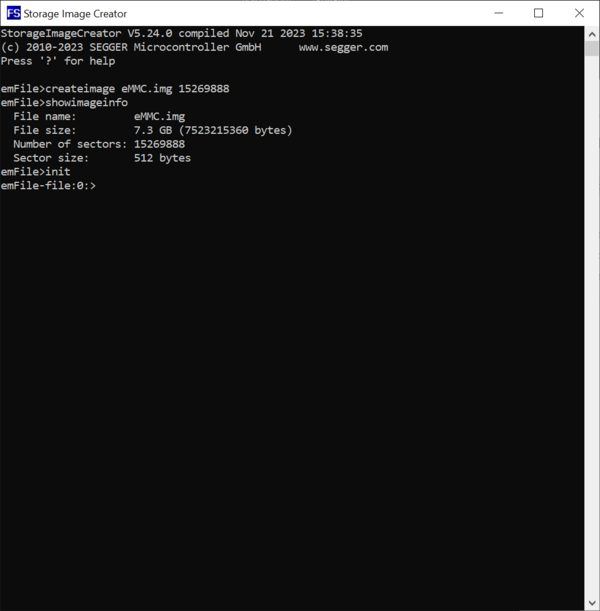
In our case we create an image for an eMMC device of about 8 GB that works with blocks of 512 bytes (15269888 × 512 = 7.818.182.656 bytes about 8 GB). The image is stored to a file with the name eMMC.img. The size of the block is omitted because it equals with the default value used by the Storage Image Creator utility.
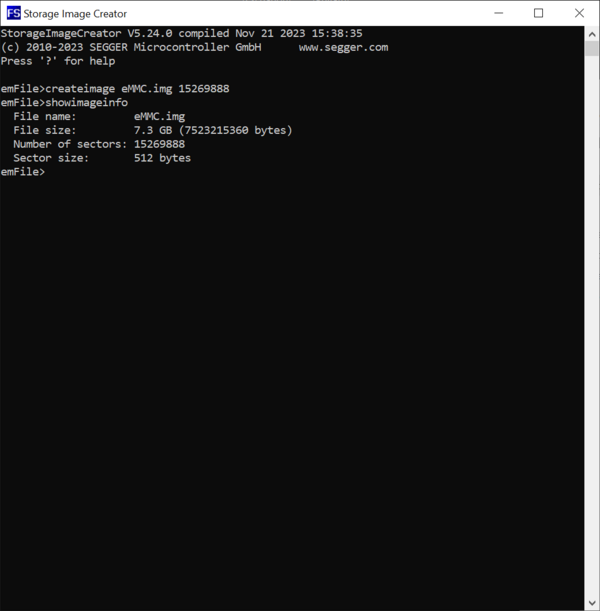
After configuring the image parameters we can verify that all the input values are correct by executing the ShowImageInfo command. This command displays information about the name of the image file and about its size.
The next step is to perform the initialization of the image. The main purpose of this command is to initialize the emFile instance that the Storage Image Creator utility uses for accessing the image. This is done by executing the Init command. The successful execution of the command is confirmed by the Storage Image Creator utility by modifying the prompt text to include the name of the volume attached by emFile to the image. Because emFile is configured to use an instance of the Disk File driver for the access the prompt text is expanded by the file:0: text. After the execution of this command the Storage Image Creator will start accepting commands that operate on the data stored on the created image.
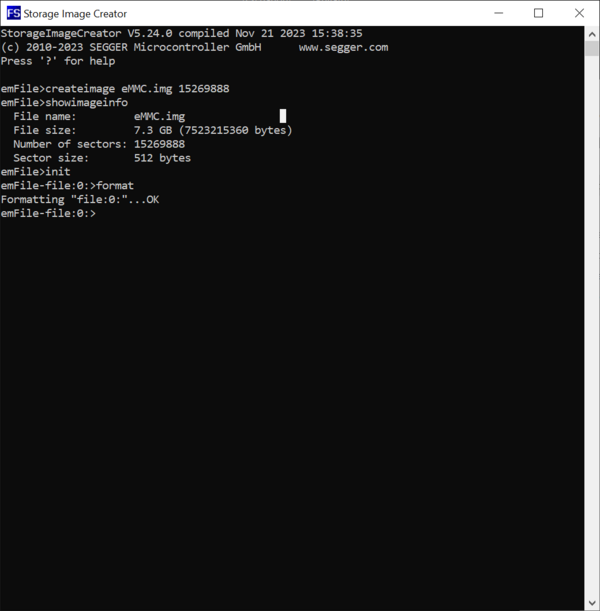
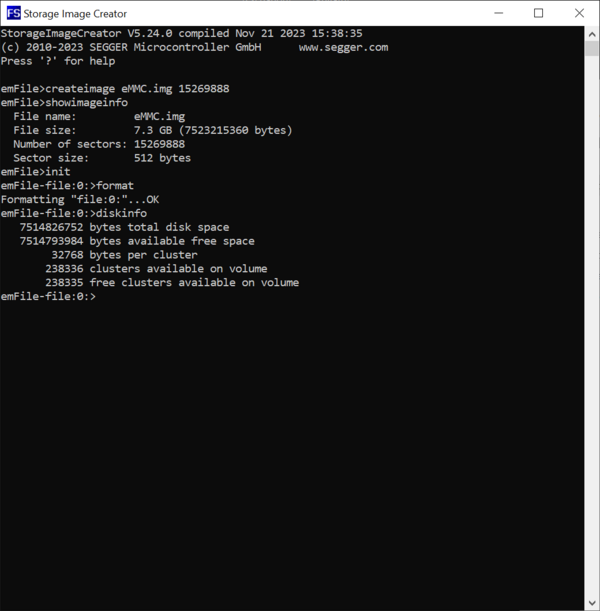
The first operation to be executed on a newly created image is to initialize the structure of file system that is stored on it. This can be done by executing the Format command.
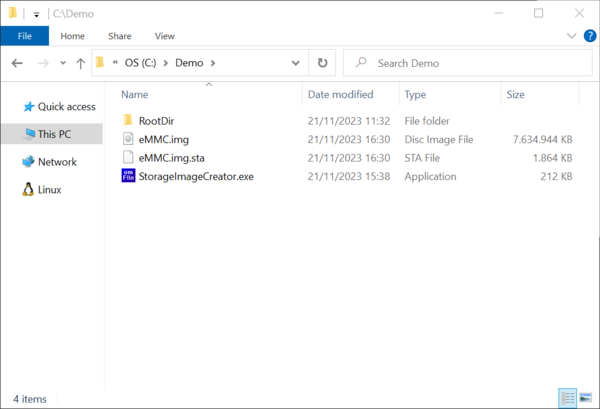
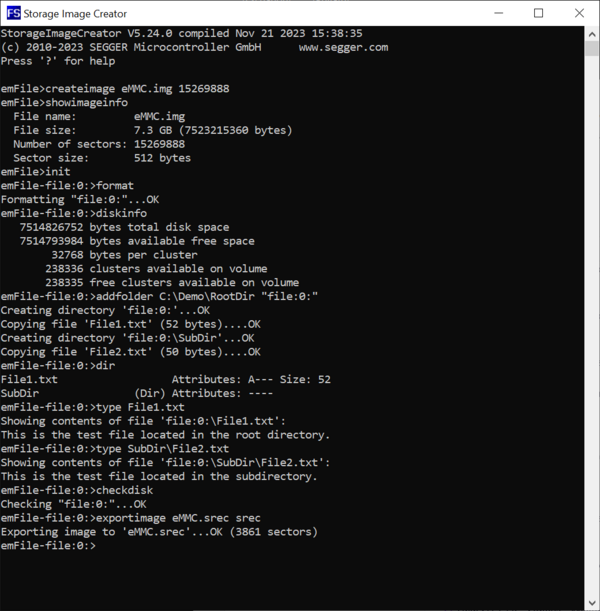
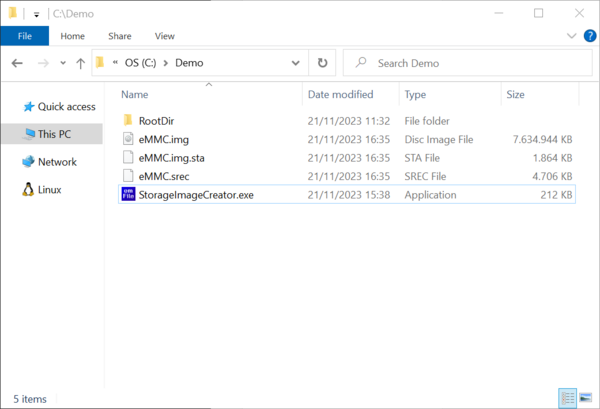
The successful completion of the format operation can be verified by checking if a file with the name specified earlier via the CreateImage exists in the work folder. In addition to the actual image file the Storage Image Creator utility creates a second file with the extension .sta. The purpose of this file is to store information about what blocks contain valid data. This information is used in the last step of the image creation process when the data stored on the image is exported to a separate file in Motorola S-record format. The .sta file does not store any file system data.
