FlasherControl
Contents
Purpose
FlasherControl.exe provides access to the command line interface (CLI) of the Flasher via USB. It is primarily intended for use with Flasher Compact in solitaire mode (without FLasher Hub) or generally for troubleshooting when the CLI of Flasher products is not available via Ethernet or serial port. Since the Flasher Compact has neither an Ethernet nor a serial interface in solitary operation - these are provided centrally by the Flasher Hub for all connected devices - control by an automation or test computer is not always easy. One obvious possibility is to use the Flasher Compact in host-controlled mode in conjunction with J-FLash. In this case, the connected Flasher is controlled directly by J-Flash. For MCUs that are only supported by U-Flash, this option is not available, since direct control of a Flasher via U-FLash is not (yet) supported. For each connected Flasher a separate instance of the controlling program must be started in any case, in case of "simultaneous" programming of several targets, in parallel. FlasherControl is a simple way of integrating Flasher Compact into an automation system via scripts in stand-alone operation.
Installation
The programme is part of the "Flasher Software and Documentation Package" from version 7.86i.
Operation
Command line arguments
| argument | description |
|---|---|
| -SN | Use Flasher with given serial number. |
| -P | Select given project name before programming. |
| -I | Interactive terminal-like mode. |
| -C | The command to be sent to the Flasher to be executed instead of #auto. (Flasher commands has to be prefixed by #)
|
| -T | The program ends when the termination string is found in the Flasher response. |
Parameter SN
If more than one flasher is connected to the PC, this parameter can be used to specify which flasher is to be used. If it is omitted in such a case, a dialogue for selecting a Flasher is displayed to the user instead.
Syntax
-SN serial number
Example
FlasherControl.exe -SN 844200006 …
Parameter I
This parameter causes the program to operate in interactive operation mode. If not specified, the program operates in automatic mode
Syntax
-I
Example
FlasherControl.exe -SN 844200006 -I
Parameter C
This parameter sets the command to send to Flasher, when operating in automatic mode. When omitted, #auto is used.
Syntax
-C #flasher command
Example
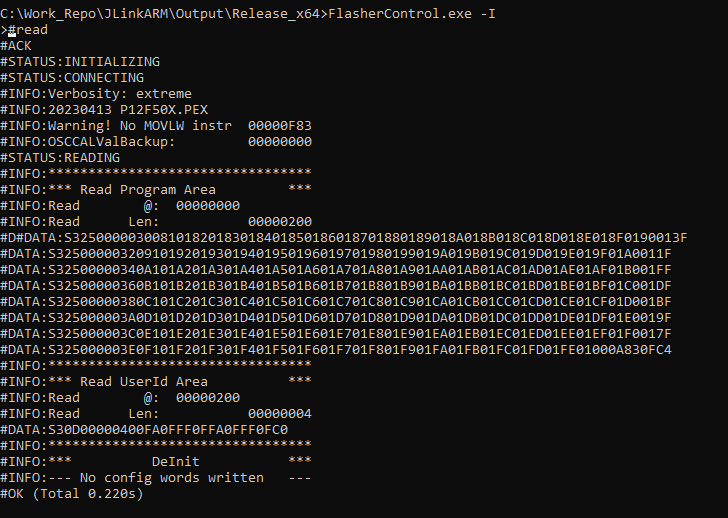
FlasherControl.exe -SN 844200006 -P boot.UNI -C #read
Parameter P
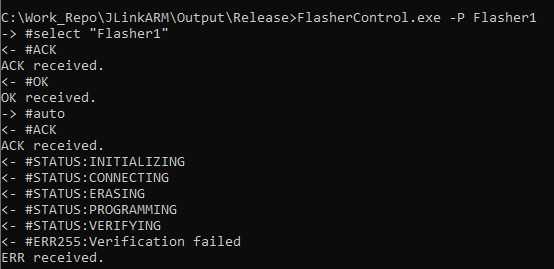
When using the #Automatic_mode the project name specified with this parameter is sent as #select before the command. This selects the project to use on Flasher.
Syntax
-P project name
Example
FlasherControl.exe -SN 844200006 -P boot.UNI -C #read
Parameter T
When using the #Automatic_mode, this argument specifies the string when received from the flasher, the programme is terminated.
Syntax
-T termination string
Example
FlasherControl.exe -SN 844200006 -P boot.UNI -C #read -T ERR:
Operation modes
The FlasherControl program supports two modes of operation, automatic and interactive.
Interactive mode
The interactive mode is started by the call parameter -I.
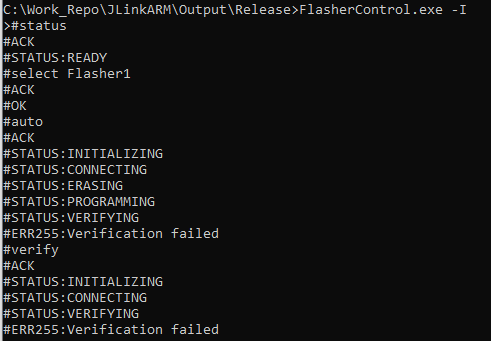
In interactive mode, a user can control the Flasher via the CLI as if it were a terminal program.
The interactive mode ends on reception of the BREAK signal followed by ENTER (CTRL-C, ENTER on most PC).
Automatic mode
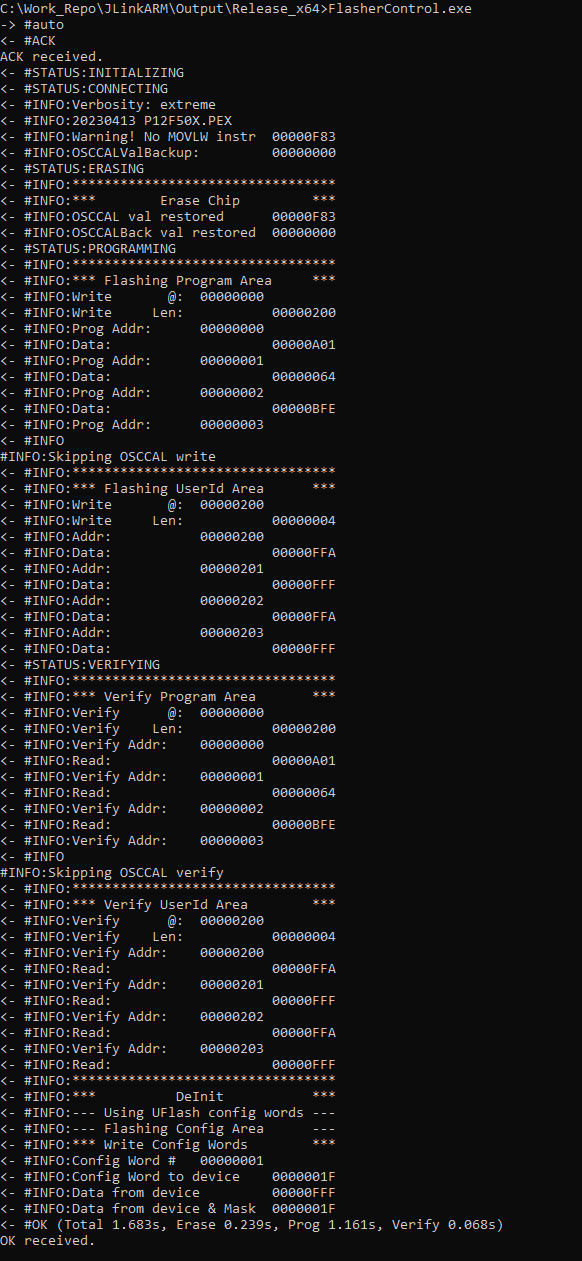
In automatic mode a single command is sent to Flasher and the response from the Flasher is captured.
The command can be specified by the -C argument; #auto is sent by default.
Optionally an additional preceding #select command can be issued. This #select project name is set by -P project name
The capture ends - like in interactive mode - with BREAK signal followed by ENTER. Additionally it ends after reception of a response from Flasher containing the specified terminator. The terminator string can be specified by -T terminator string.
When the terminator is received, the processing of communication ends .
Post-processing output
All fetched content is output via STDOUT.
Additionally as state messages from FlasherControl itself are also output on STDERR.
To process the output of the Flasher the output can easily be redirected to files
FlasherControl.exe … >filename
or piped to other post-processing tools
FlasherControl.exe … | other post processing-tool …
To process the FlasherControl state messages, STDERR can be redirected by 2>. Piping STDERR is a little bit more complicated. First redirect STDERR to STDOUT — the pipe; then redirect STDOUT to NUL (without changing where STDERR is going):
FlasherControl.exe … 2>&1 >NUL | other post processing-tool …
Both redirection methods can be combined to fetch STDOUT and STDERR to separate files:
FlasherControl.exe … >stdout-filename 2>stderr-filename
To combined output before processing use following construction:
FlasherControl.exe … 2>&1 >combined-filename;


