Difference between revisions of "NXP MCIMX8QM-CPU"
(No difference)
| |
Latest revision as of 16:28, 5 April 2024
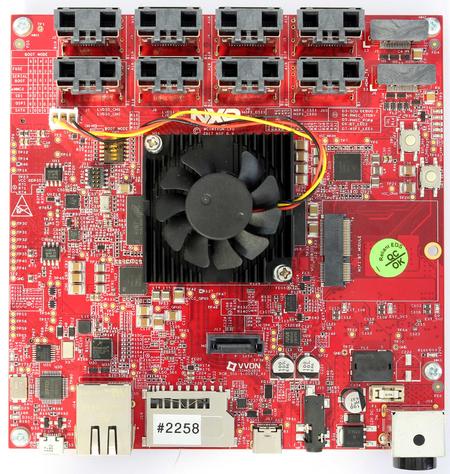
This article describes specifics for the NXP MCIMX8QM-CPU evaluation board. It can be used to test & verify NXP iMX 8 X device support for Cortex-M4.
Minimum requirements
- J-Link software V7.94 or later
- The board should have a bootloader(U-Boot) image on one of the available boot device
Preparing for J-Link
- Connect the J-Link to JTAG connector (J11).
- Connect the onboard USB-UART debug interface to host computer (J18).
- Open a serial interface communication via terminal application(PuTTY).
- Power the board via Power connector (J16).
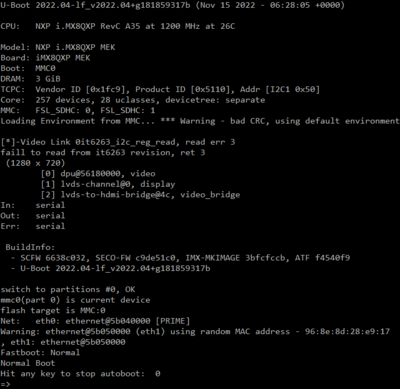
- Wait until the bootloader is started and interrupt the loading of the operating system(Linux Kernel). The output should look as follows:
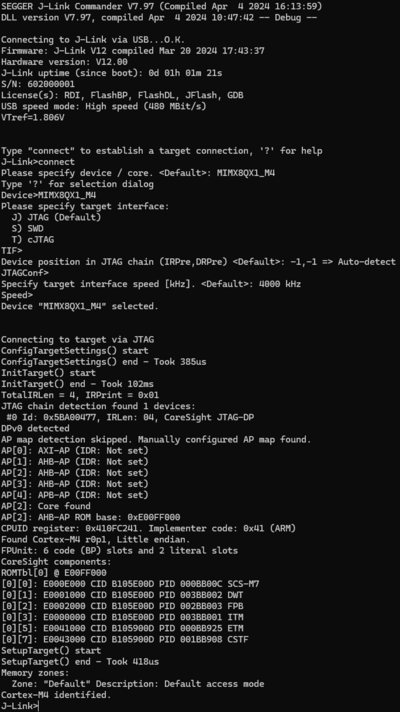
- Verify the Connection with e.g. J-Link Commander. The output should look as follows:
Example Project
The following example project was created with the SEGGER Embedded Studio project wizard and runs out-of-the-box on the NXP MCIMX8QM-CPU.
It is a simple Hello World sample linked into the internal flash.
SETUP
- J-Link software: V7.94
- Embedded Studio: V8.10
- Hardware: NXP MCIMX8QM-CPU
- Link: File:NXP MCIMX8QM-CPU M4 TestProject ES 8V10.zip


