NXP MCUXpresso Free Edition
Using an MCUXpresso IDE project with J-Link
MCUXpresso IDE by NXP comes with integrated J-Link support. No further configuration necessary. For detailed instructions on how to install and use MCUXpresso IDE, please refer to the MCUXpresso IDE webpage and the User Guide by NXP.
Warning: Do not create a debug configuration manually via the Run → Debug Configurations… menu. Instead, the debug wizard should be used by executing the following steps:
- Make sure that J-Link is connected via USB or IP
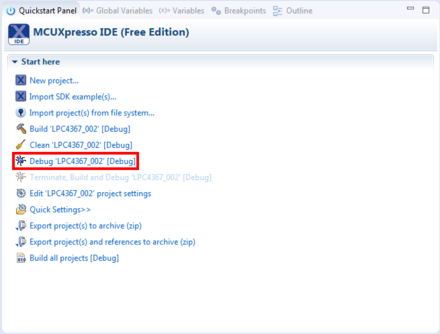
- Click Debug ‘$(Project_Name)’ in the Quickstart Panel
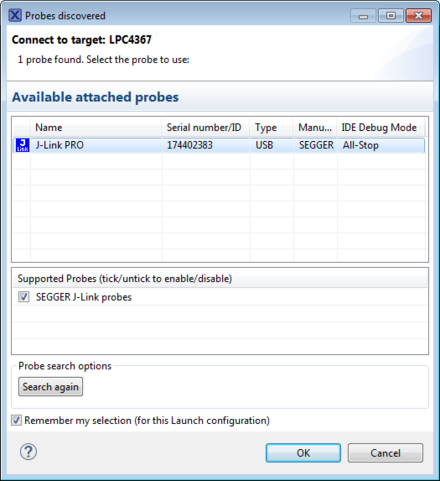
- MCUXpresso IDE will show all Debug probes discovered.
- Select a probe and click OK
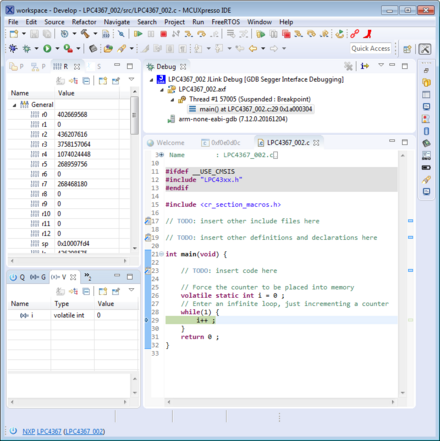
- MCUXpresso IDE will now generate both a Debug configuration as well as a Run configuration and start a debug session
Specifying a settings file
In some cases (e.g. working with multiple loaders), a J-Link settings file might be required by J-Link. To use such a settings file, create an empty *.jlink file in the desired location (e.g. C:/temp/Settings.jlink). Afterwards you can forward the path to the file to J-Link by editing the debug configuration:
- Open the Project settings (Project -> Properties)
- Go to Run/Debug Settings and select the J-Link debug configuration and click Edit...
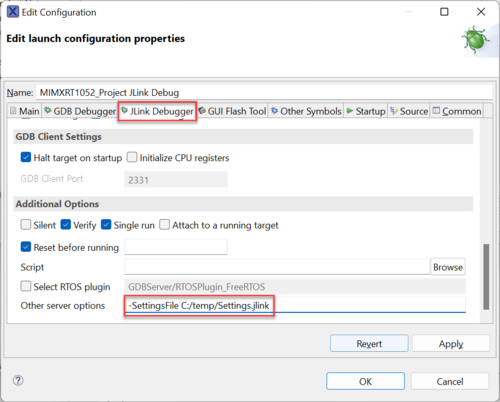
- Go to 'J-Link Debugger tab
- Under Additional Options you will find Other server options
- There you can specify the path of the settings file, e.g. -SettingsFile C:/temp/Settings.jlink


