SEGGER Simulation Integration Guide
This article describes how various SEGGER embedded software simulations for Windows and Visual Studio can be integrated into a single project.
embOS & emWin Integration
Requirements
- Microsoft Visual Studio 2010 or newer and compatible with Visual Studio 2010 projects
- embOS Sim Visual Studio V5.06.1 or newer
- emWin V550i or newer
Guide
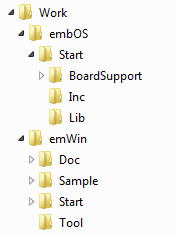
- Extract the embOS and emWin shipments into a directory of your choice. In the following, the embOS Sim VisualStudio shipment directory path is referred to as <embOSDirectory> and the emWin shipment directory path as <emWinDirectory>. The screenshot shows the embOS and emWin shipment extracted into a directory named Work.
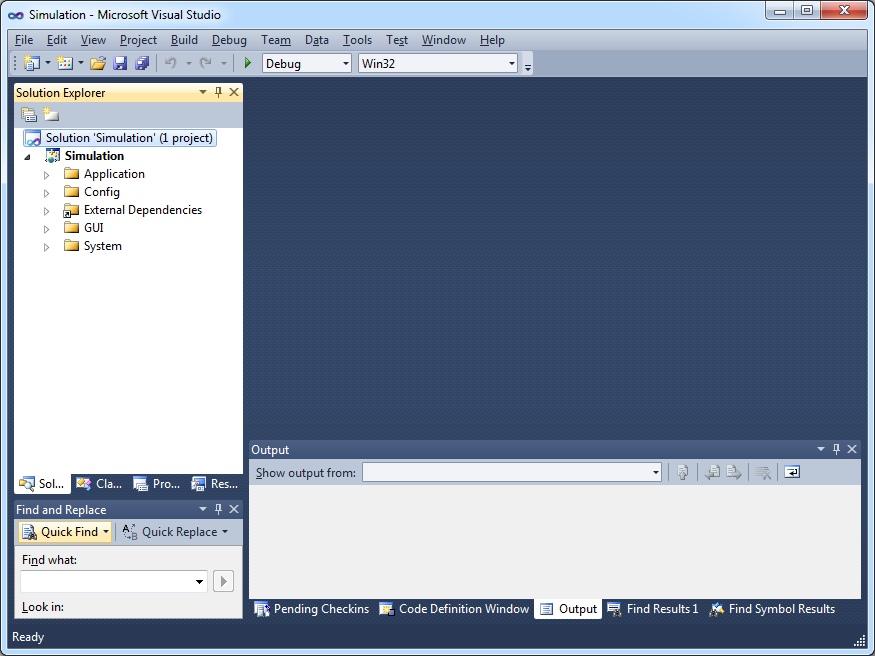
- The emWin simulation project shipped with emWin will be used as a start project. Open the emWin simulation project <emWinDirectory>/Start/Simulation.sln with Visual Studio 2010.
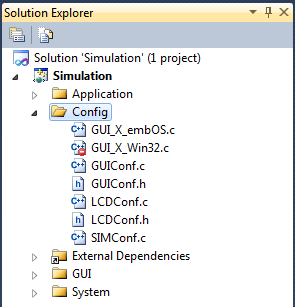
- Exclude or remove the GUI_X_Win32.c from the Config directory in the project’s solution explorer. This file is only needed if the emWin simulation is running standalone using Win32 threads instead of the embOS simulation. For using the embOS simulation, add the <emWinDirectory>/Sample/GUI_X/GUI_X_embOS.c to the solution explorer.
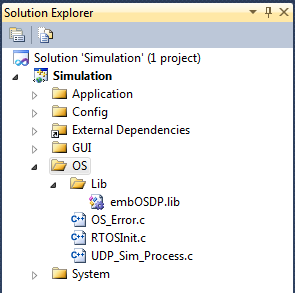
- Add following files from the embOS shipment to the solution explorer:
- <embOSDirectory>/Start/Lib/embOSDP.lib
- <embOSDirectory>/Start/BoardSupport/Simulation/Setup/RTOSInit.c
- <embOSDirectory>/Start/BoardSupport/Simulation/Setup/OS_Error.c
- <embOSDirectory>/Start/BoardSupport/Simulation/Setup/UDP_Sim_Process.c
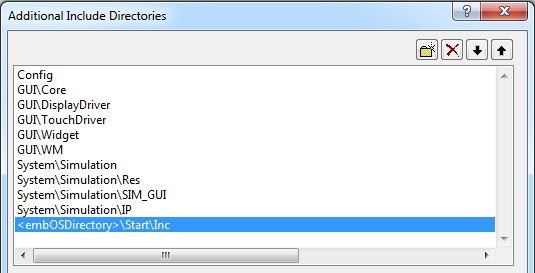
- Add the path <embOSDirectory>/Start/Inc to the include directories of the project.
- Create a new file in your Visual Studio project and name it main.c. This file will contain a main() function which will serve as the main entry point of the simulated application. The actual entry point of the emWin simulation without embOS is the MainTask() function contained in the MainTask.c. We will use the main() function to initialize embOS, create a task, start embOS and let the task call the MainTask() function, which then executes the GUI sample application.
Copy the following code into the “main.c” file:/********************************************************************* * (c) SEGGER Microcontroller GmbH * * The Embedded Experts * * www.segger.com * ********************************************************************** */ #include "RTOS.h" extern void MainTask(void); static OS_STACKPTR int Stack[128]; static OS_TASK TCB; static void Task(void) { MainTask(); while (1) { OS_TASK_Delay(50); } } int main(void) { OS_Init(); // Initialize embOS OS_InitHW(); // Initialize required hardware OS_TASK_CREATE(&TCB, "GUI Task", 100, Task, Stack); OS_Start(); // Start embOS return 0; } /*************************** End of file ****************************/
- Now, your project is ready to be compiled and executed. After starting the application, a window will appear on your screen displaying the emWin sample application. After the MainTask() function has returned, the window will look like in the screenshot below.
