Difference between revisions of "NXP i.MX RT685 SuperMonkey"
(→SETUP) |
(→Example Project) |
||
| (One intermediate revision by the same user not shown) | |||
| Line 22: | Line 22: | ||
== Example Project== |
== Example Project== |
||
| − | The following example project was created with the SEGGER Embedded Studio project wizard and runs out-of-the-box on the NXP i.MX RT685 SuperMonkey. It is a simple Hello World sample linked into the internal flash. |
+ | The following example project was created with the SEGGER Embedded Studio project wizard and runs out-of-the-box on the NXP i.MX RT685 SuperMonkey. It is a simple Hello World sample linked into the internal flash. |
| + | {{Note|1=The project sets the J-Link command string [[J-Link_Command_Strings#SetSkipRestoreRAMCode | SetSkipRestoreRAMCode]]. This is done to ensure that the flash controller remains initialized after flash programming and debug is possible for a good out-of-the-box experience. A finished user application cannot rely on this and should implement its own flash controller initialization. }} |
||
====SETUP==== |
====SETUP==== |
||
*J-Link software: V7.96ib |
*J-Link software: V7.96ib |
||
*Embedded Studio: V8.10b |
*Embedded Studio: V8.10b |
||
*Hardware: NXP i.MX RT685 SuperMonkey |
*Hardware: NXP i.MX RT685 SuperMonkey |
||
| − | *Link: [[File:NXP_SuperMonkey_ES_V622.zip]] |
||
*Link: [[File:NXP_SuperMonkey_ES_V810b.zip]] |
*Link: [[File:NXP_SuperMonkey_ES_V810b.zip]] |
||
Latest revision as of 10:04, 11 June 2024
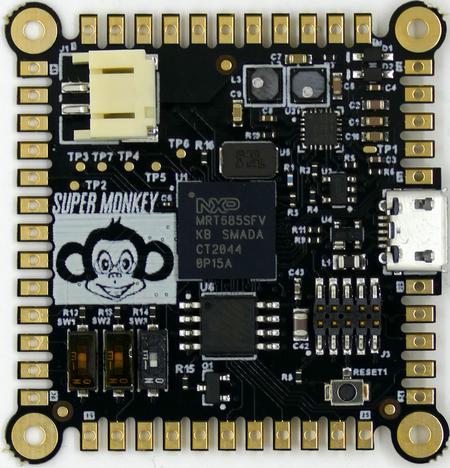
This article describes specifics for the NXP i.MX RT685 SuperMonkey evaluation board.
Minimum requirements
- J-Link software V7.65b or later
Preparing for J-Link
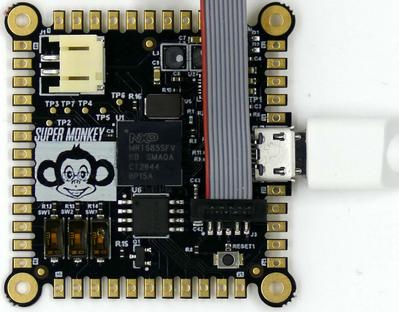
- Connect the J-Link to the debug connector (J3)
- Power the board via USB
Afterwards, the board should look similar to this:

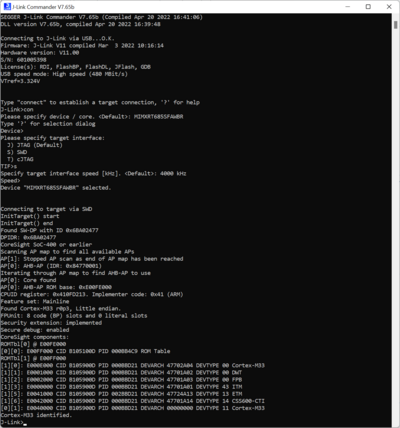
Verify the Connection with e.g. J-Link Commander. The output should look as follows:
Example Project
The following example project was created with the SEGGER Embedded Studio project wizard and runs out-of-the-box on the NXP i.MX RT685 SuperMonkey. It is a simple Hello World sample linked into the internal flash.
Note:
The project sets the J-Link command string SetSkipRestoreRAMCode. This is done to ensure that the flash controller remains initialized after flash programming and debug is possible for a good out-of-the-box experience. A finished user application cannot rely on this and should implement its own flash controller initialization.
The project sets the J-Link command string SetSkipRestoreRAMCode. This is done to ensure that the flash controller remains initialized after flash programming and debug is possible for a good out-of-the-box experience. A finished user application cannot rely on this and should implement its own flash controller initialization.
SETUP
- J-Link software: V7.96ib
- Embedded Studio: V8.10b
- Hardware: NXP i.MX RT685 SuperMonkey
- Link: File:NXP SuperMonkey ES V810b.zip

