Difference between revisions of "Infineon DAVE 4"
(→Using an Existing Project With J-Link) |
(→Getting started) |
||
| Line 14: | Line 14: | ||
[[File:DAVE4_InstallJLink.png]] <br> |
[[File:DAVE4_InstallJLink.png]] <br> |
||
Other than that, please refer to the '''DAVE-4[...].pdf''' provided by Infineon within the DAVE installation package to installing the IDE.<br> |
Other than that, please refer to the '''DAVE-4[...].pdf''' provided by Infineon within the DAVE installation package to installing the IDE.<br> |
||
| − | [[File:DAVE4_InstallationPDF.png]] <br> |
+ | [[File:DAVE4_InstallationPDF.png | border]] <br> |
=== Using an Existing Project With J-Link === |
=== Using an Existing Project With J-Link === |
||
| − | * Build the DAVE project that should be used with J-Link: <br> [[File:DAVE4_BuildProject.png]] |
+ | * Build the DAVE project that should be used with J-Link: <br> [[File:DAVE4_BuildProject.png | border]] |
| − | * Navigate to '''Debug Configurations''' by clicking the arrow next to the bug symbol: <br> [[File:DAVE4_FindDebugConfigs.png]] |
+ | * Navigate to '''Debug Configurations''' by clicking the arrow next to the bug symbol: <br> [[File:DAVE4_FindDebugConfigs.png | border]] |
| − | * Double-click '''GDB SEGGER J-Link Debugging'''. This will create a new debug configuration: <br> [[File:DAVE4_DebugConfs.png]] |
+ | * Double-click '''GDB SEGGER J-Link Debugging'''. This will create a new debug configuration: <br> [[File:DAVE4_DebugConfs.png | border]] |
* Select the newly created debug configuration and select the '''Debugger''' tab: <br> [[File:DAVE4_DebuggerOpt.png]] |
* Select the newly created debug configuration and select the '''Debugger''' tab: <br> [[File:DAVE4_DebuggerOpt.png]] |
||
* Make sure that the correct '''Device name''' is set. |
* Make sure that the correct '''Device name''' is set. |
||
Revision as of 18:37, 22 February 2019
Infineon DAVE 4 is a free IDE, based on Eclipse, for Infineon XMC devices. Infineon DAVE comes with built-in J-Link GDB Server support.
Note: J-Link GDB Server is part of the J-Link Software and Documentation Pack and can be used free of charge.
Getting started
Installing
When installing Infineon DAVE 4 IDE, make sure to check SEGGER J-Link ... under Custom Setup.

Other than that, please refer to the DAVE-4[...].pdf provided by Infineon within the DAVE installation package to installing the IDE.

Using an Existing Project With J-Link
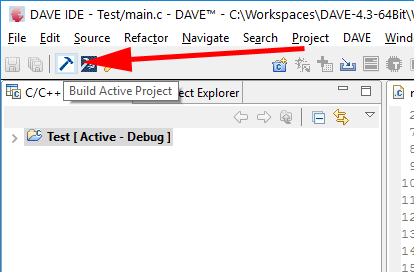
- Build the DAVE project that should be used with J-Link:
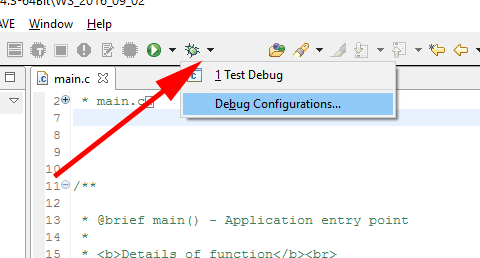
- Navigate to Debug Configurations by clicking the arrow next to the bug symbol:
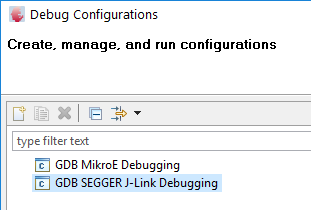
- Double-click GDB SEGGER J-Link Debugging. This will create a new debug configuration:
- Select the newly created debug configuration and select the Debugger tab:
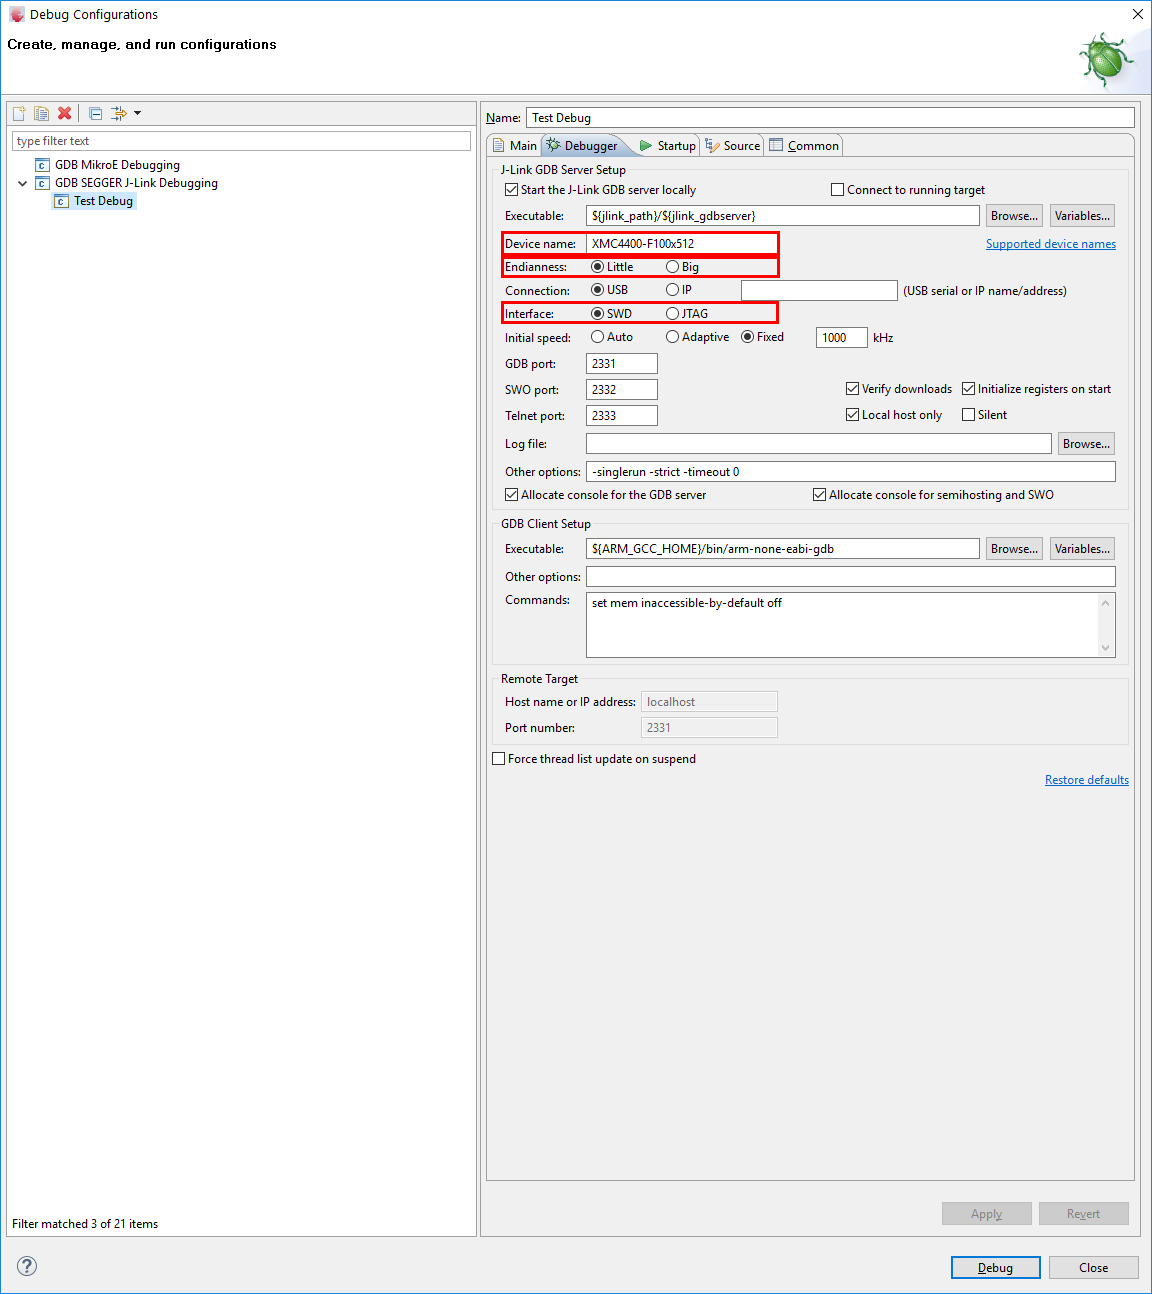
- Make sure that the correct Device name is set.
- Make sure that the correct Endianness is set. Most Infineon devices use Little Endian.
- Make sure that the correct Interface is set. Most Infineon devices use SWD for the target interface.
- If necessary, click Apply.
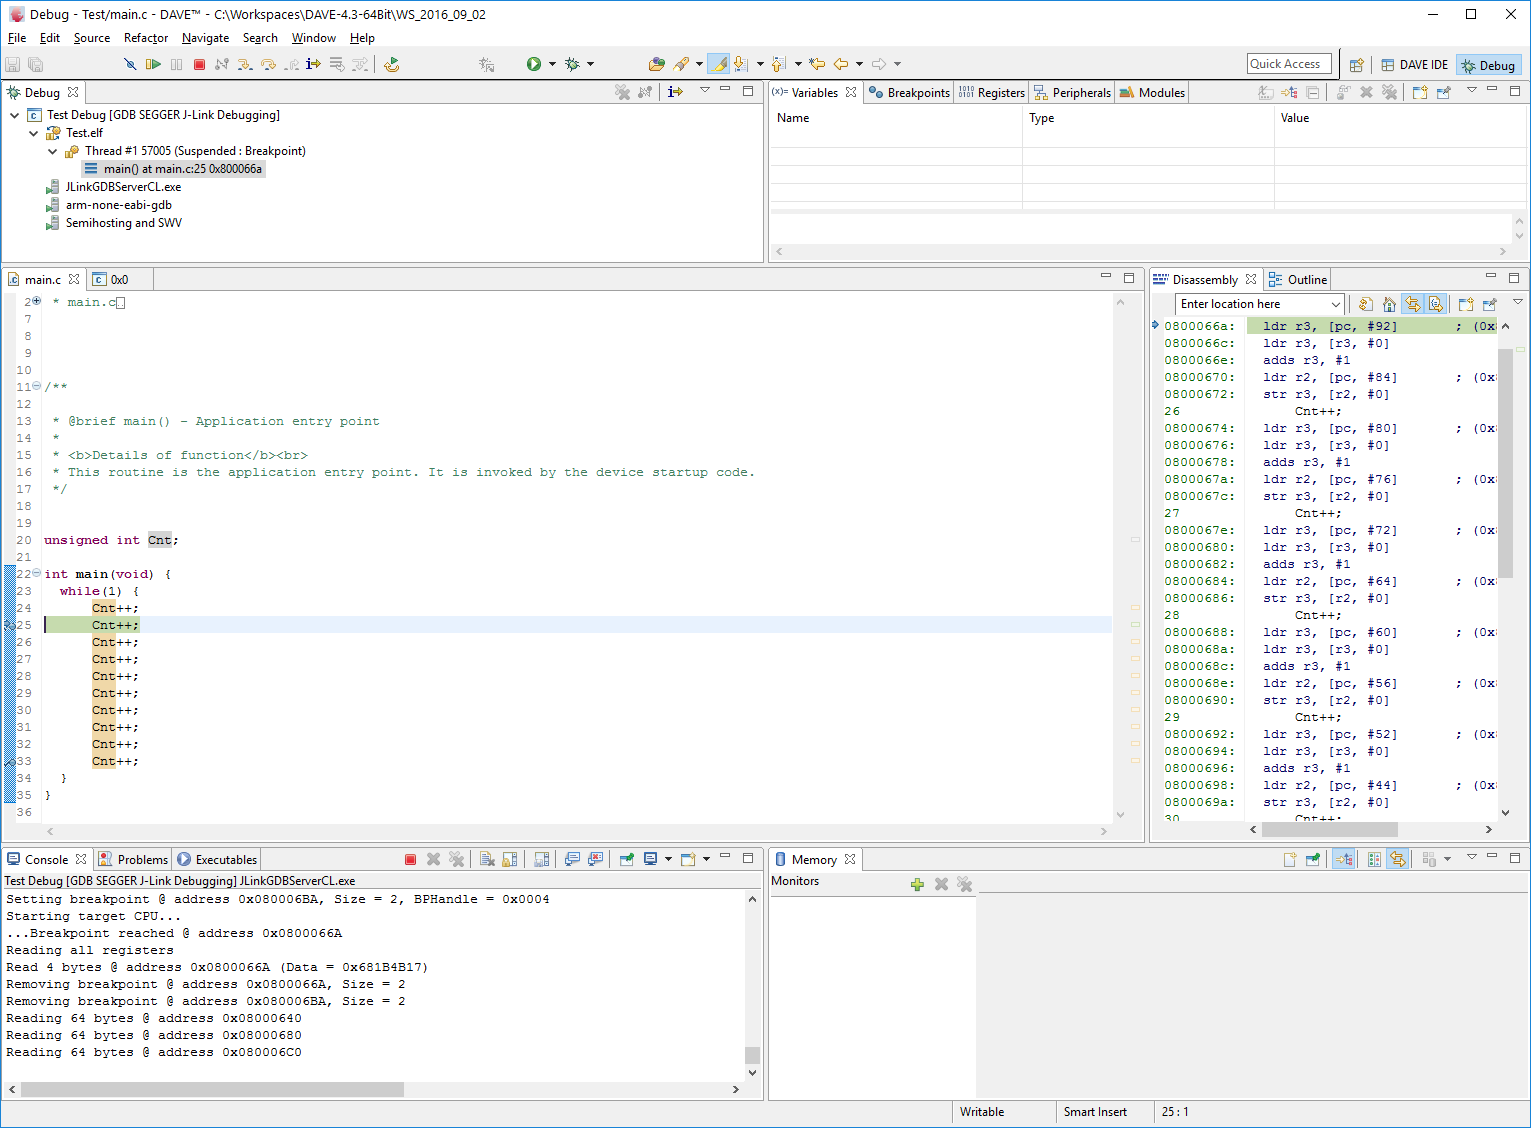
- Click Debug to start debugging the target application: